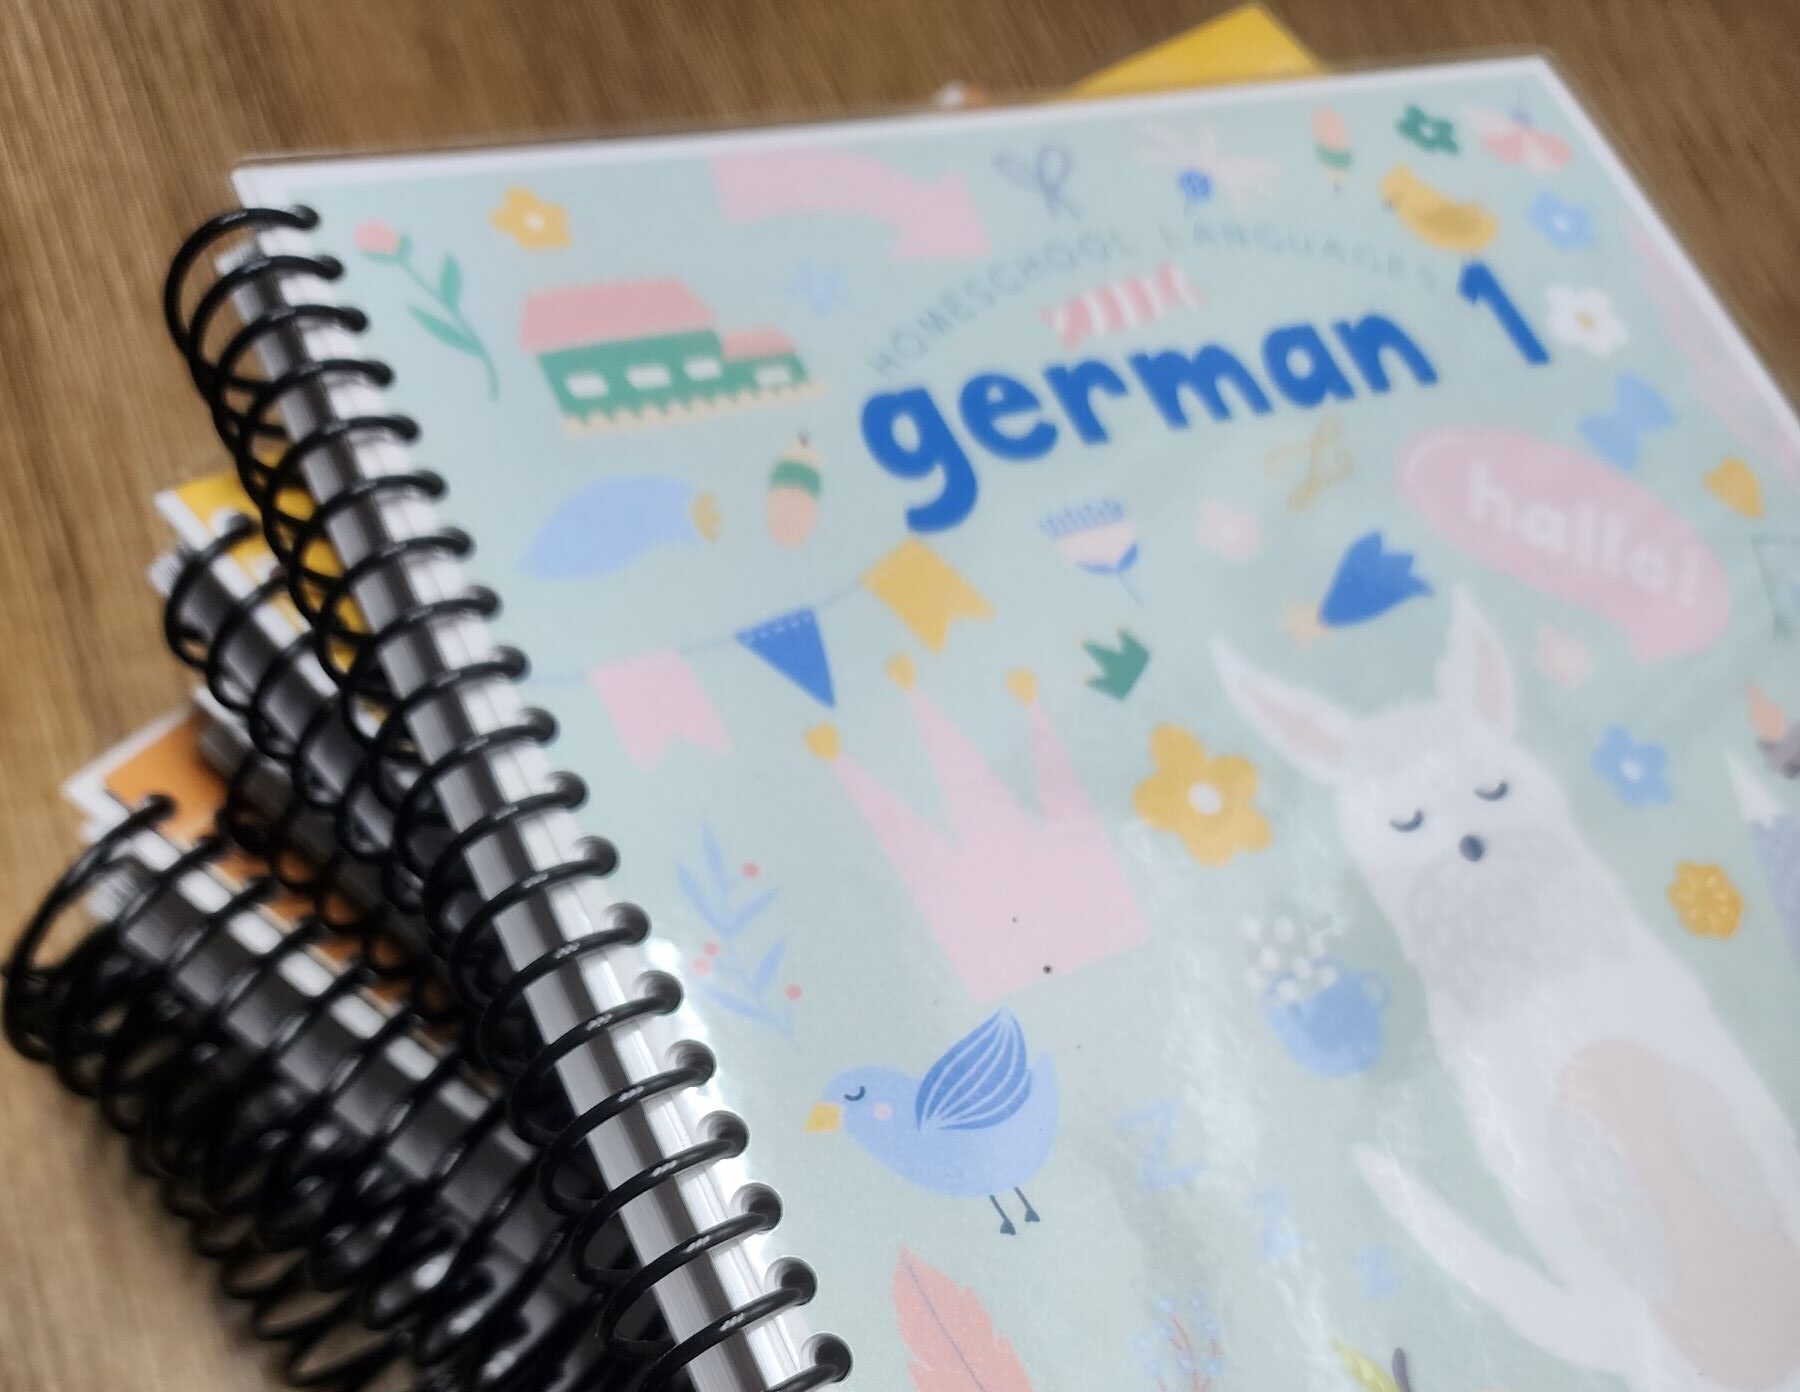
When I first started homeschooling, I discovered the new-to-me world of curriculum. Fortunately, this world includes lots and lots of PDFs. Printing and binding eBooks and PDFs are a great way for families with multiple children to save money since you can simply reprint workbooks when the next child is ready to learn the material. As for the guides or instructor books, some homeschool parents will choose to read off of a laptop, tablet, phone, or even screen cast to their tv.. This is a great option, but what do you do if you are like me and like to have physical books to hold and look at?
Let’s get right into how to print and bind your homeschool resources!
How I print and bind my PDFs into physical books
Step #1: Printing the material
I like to print double sided and in color when applicable. For covers, I select “high quality” and sometimes “borderless.” I use and really love Elementree Printer Paper. It is 20lb paper, but has worked wonderfully for double sided printing. Any other 20lb printer paper I have used has not yielded great results when printing front and back. This paper has a grey-ish hue which I actually prefer.
The printer I use is Epson EcoTank ET-3850. I’ve had it for almost 2 years and it has served me well printing thousands and thousands (literally) of pages of homeschool curriculum and resources before having to refill the ink. Ink runs about $60.
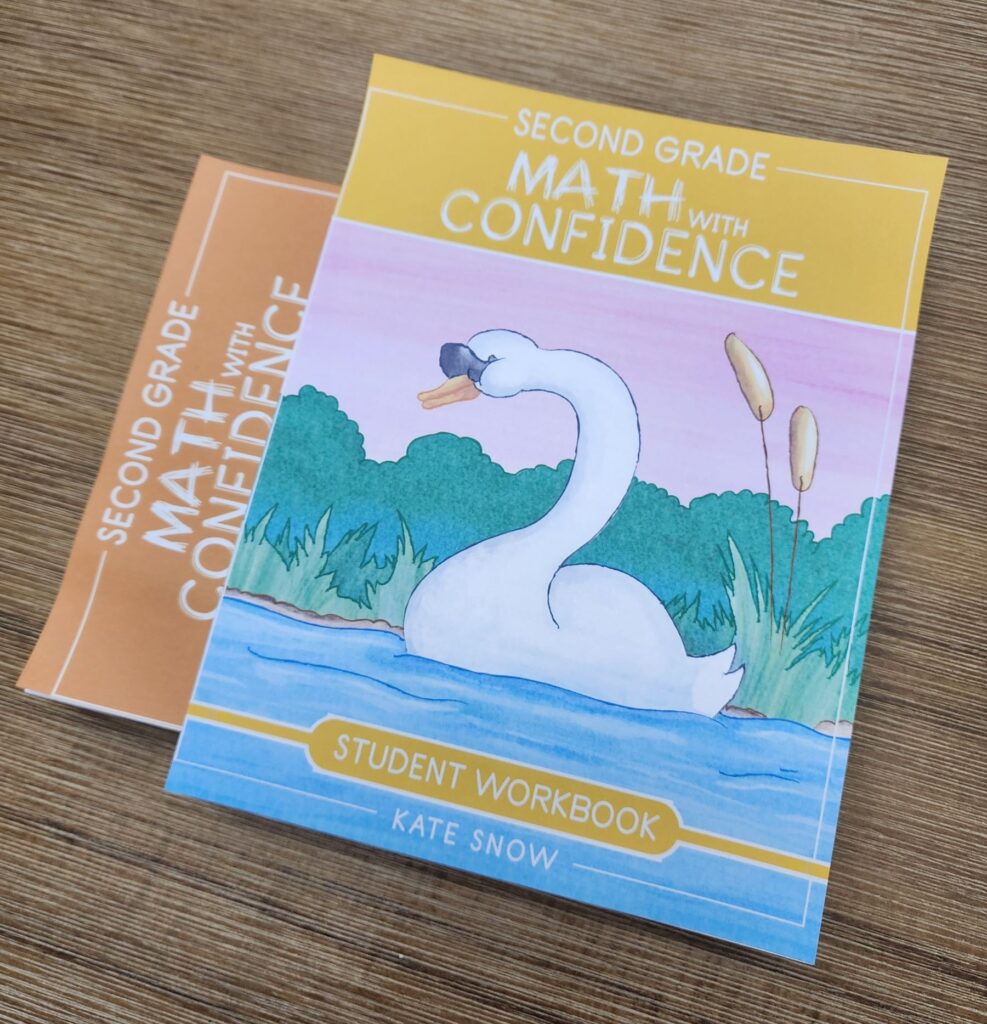
Second Grade Math with Confidence “borderless” cover.
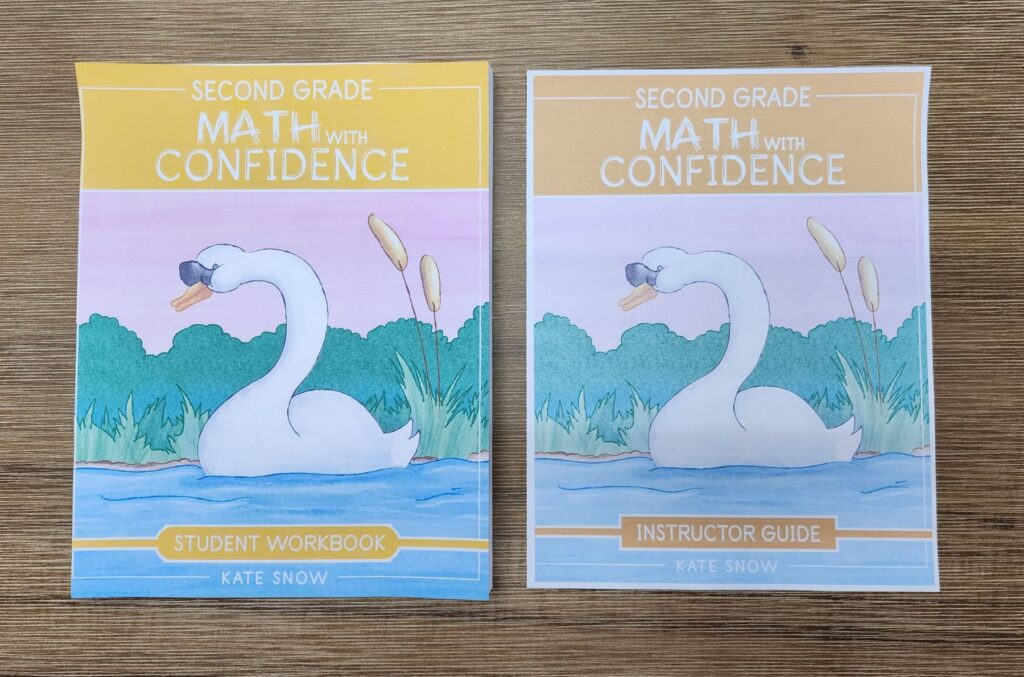
Side by side of results when printing in “high quality” (left) and “normal” (right).
Step #2: Covers
For covers, I do either of the following two:
I laminate the front cover included in the eBook or PDF and also a white sheet of paper (for the back) using 5mil laminating pouches. I’ve gotten away with using 3mil, and it does turn out OK but this will result in a flimsier, less sturdy book.
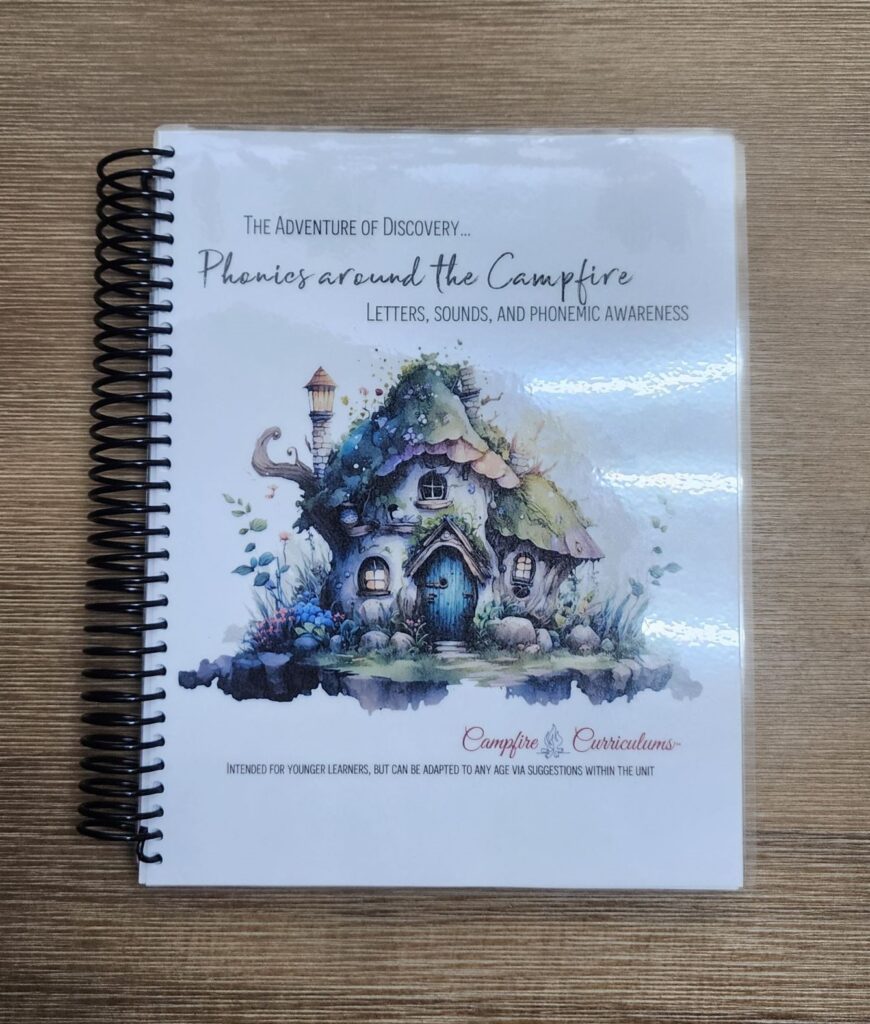
Campfire Curriculums Phonics around the Campfire print and bound with 5mil laminating pouches for both front and back.
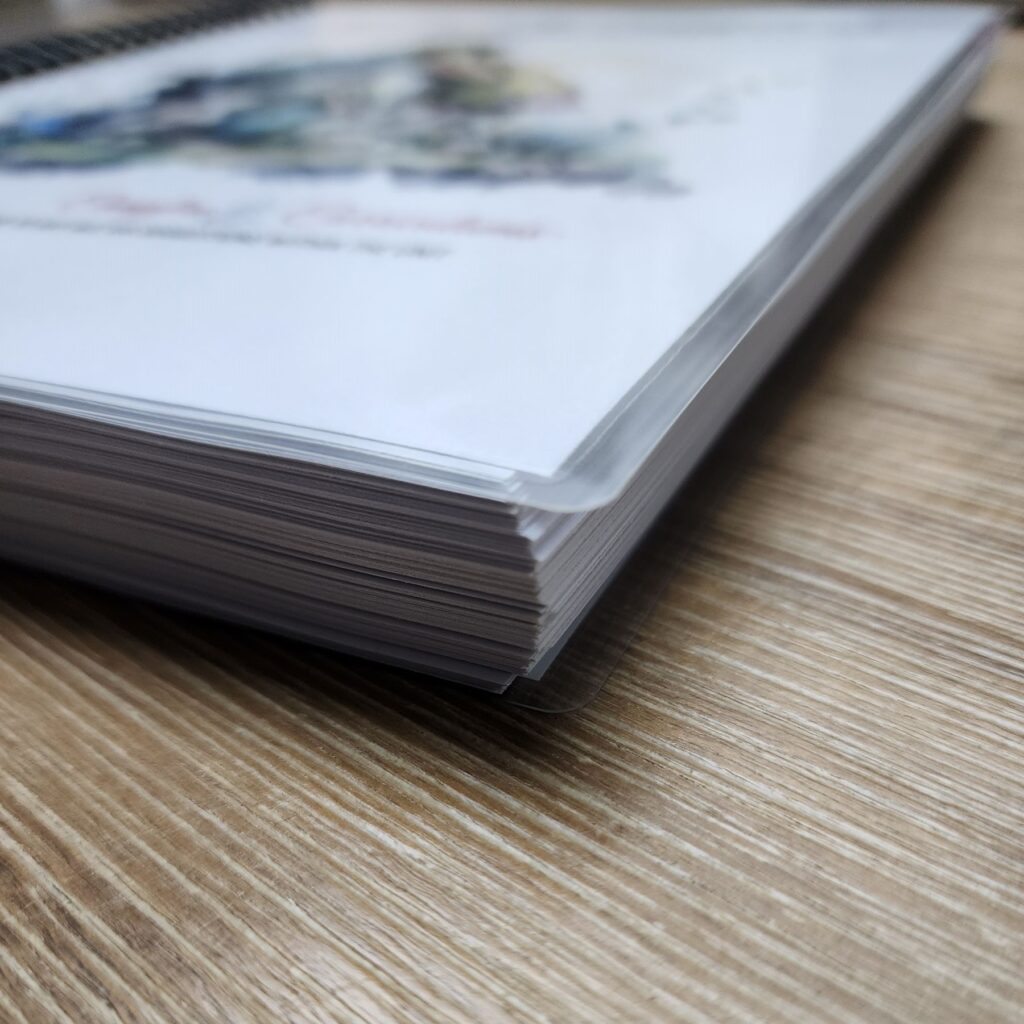
A closer look.
OR
8mil clear presentation covers also work really well. I print the front cover on 60lb cardstock and place it right under the clear cover. For the back cover, I use a kraft cardboard sheet which adds just the right amount of sturdiness.
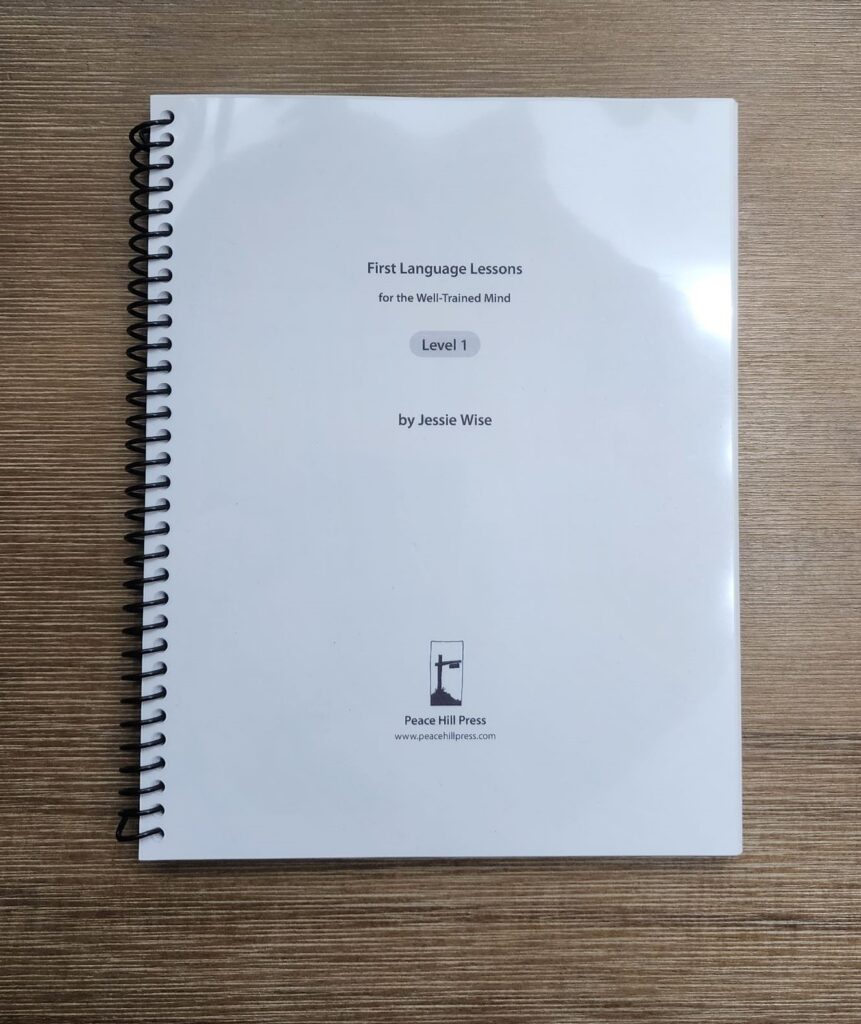
First Language Lessons for the Well-Trained Mind Level 1 printed and bound using a clear presentation cover, 60lb cardstock cover, and kraft chipboard for back.
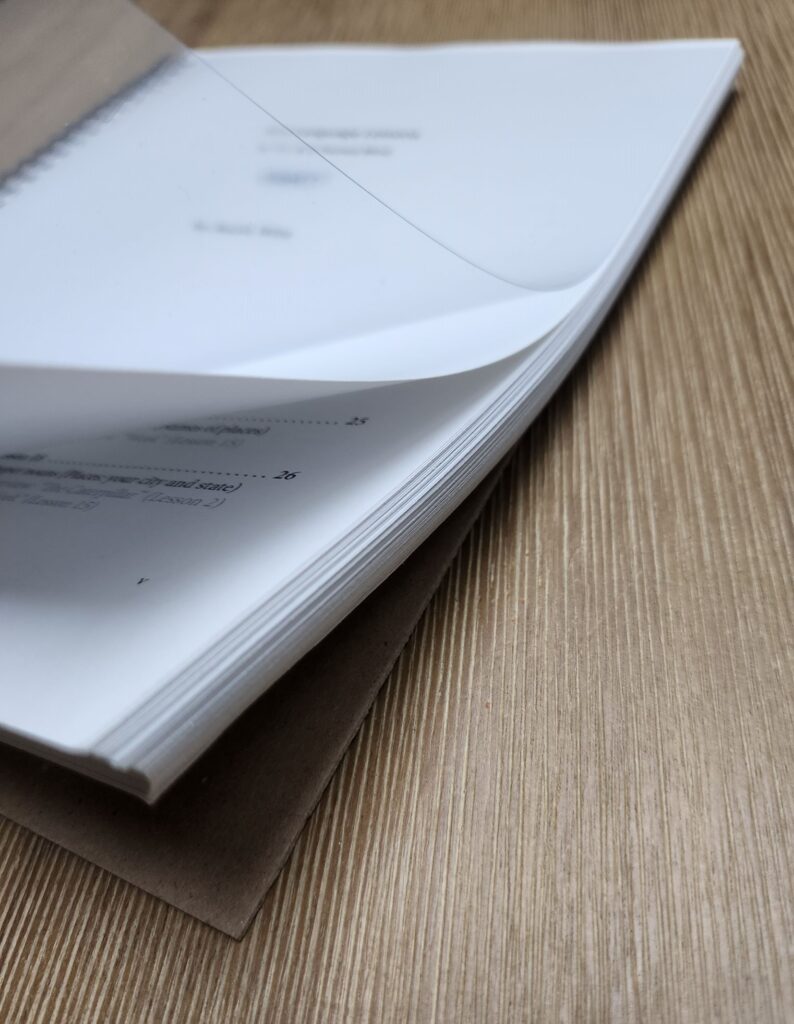
A closer look.
Step #3: Trim
I highly recommend having a paper cutter as part of your homeschool supplies. Although I have an old but handy 2-in-1 laminator and paper cutter, I did recently purchase the Swingline Paper Cutter. It makes it so much easier to cut and trim my homeschool resources or curriculums for a nice finish!
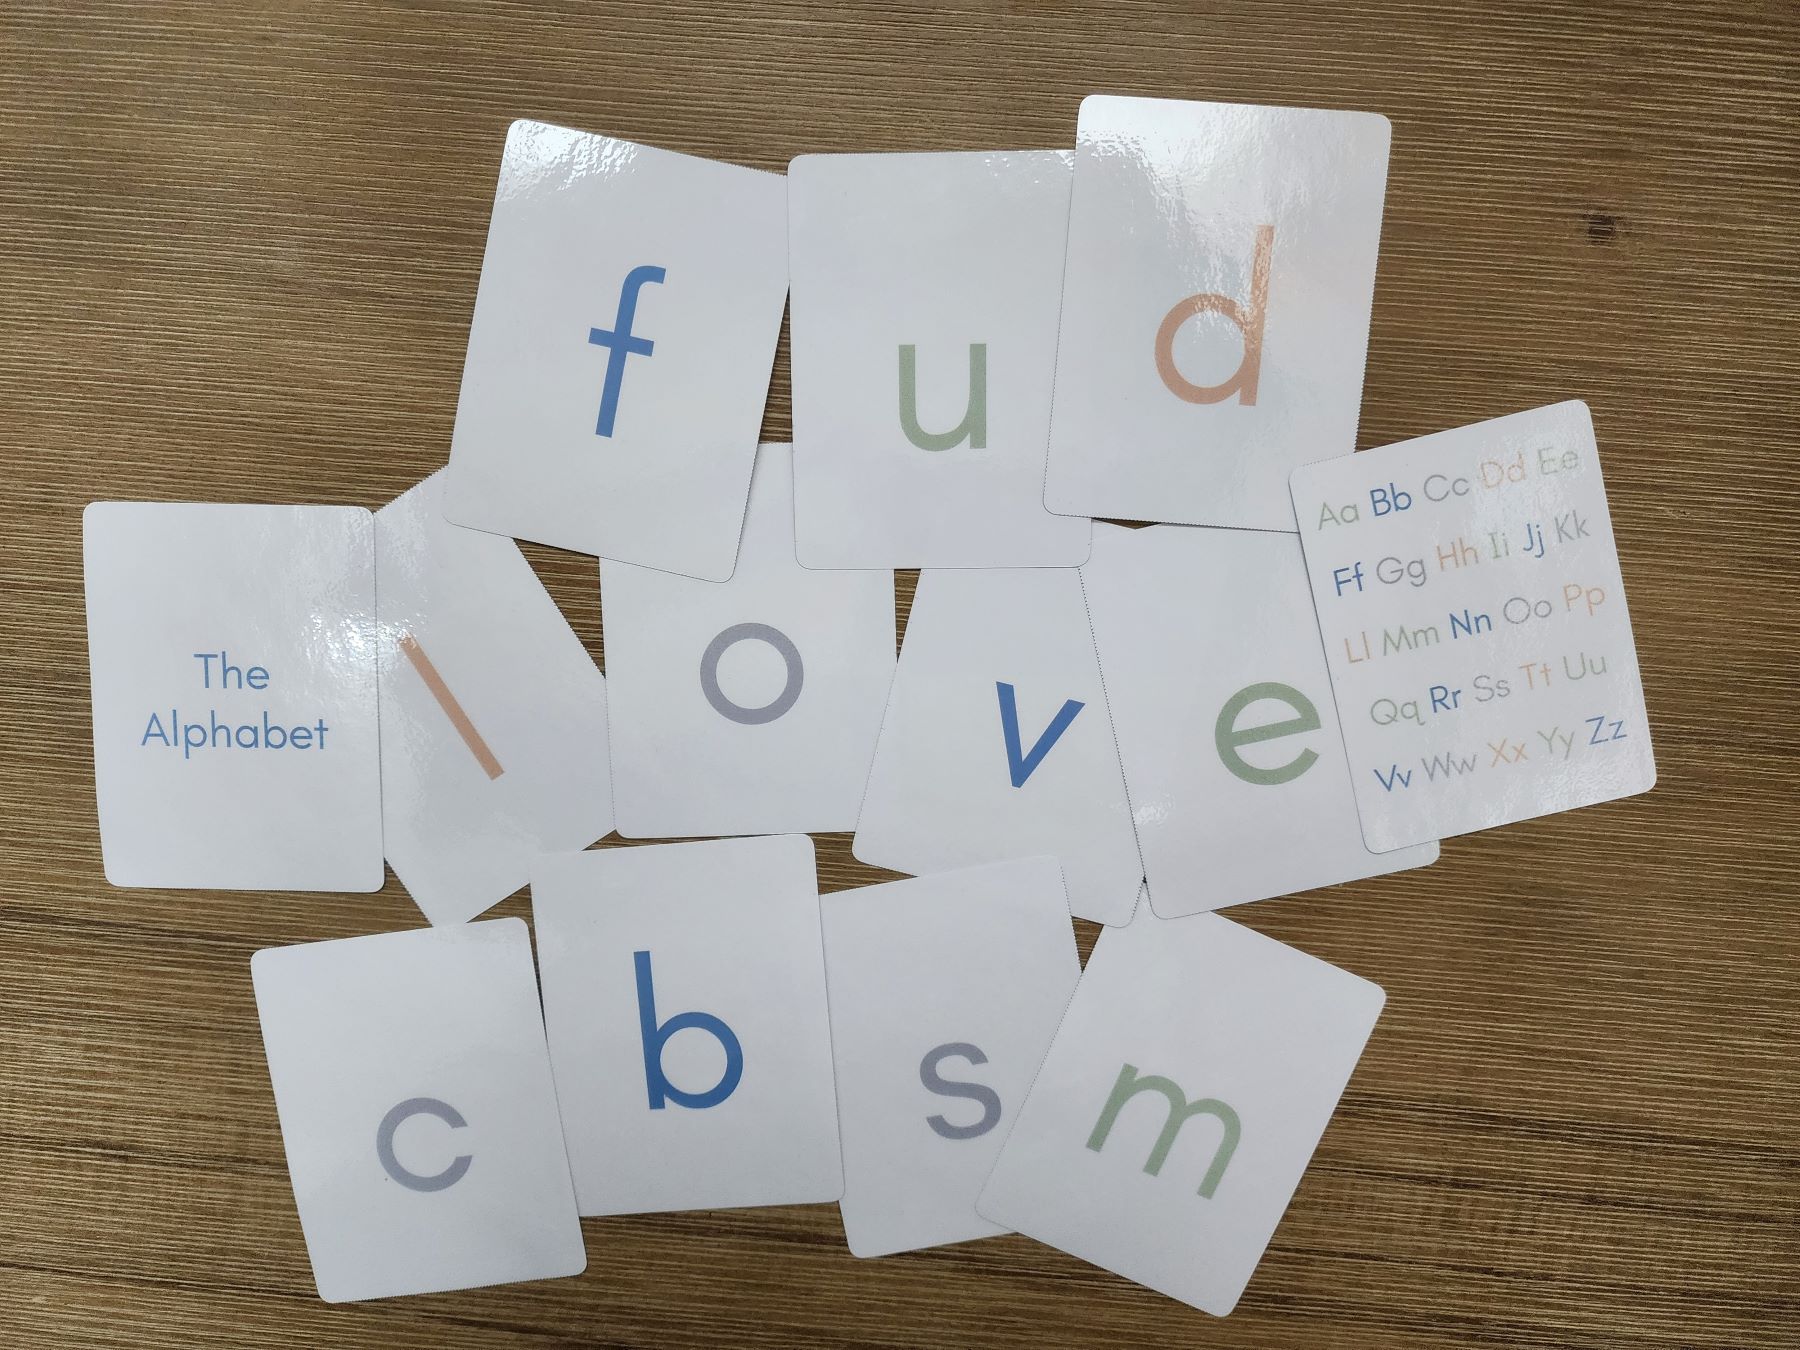
A paper cutter also comes in handy when cutting out flash cards like these FREE ones I created!
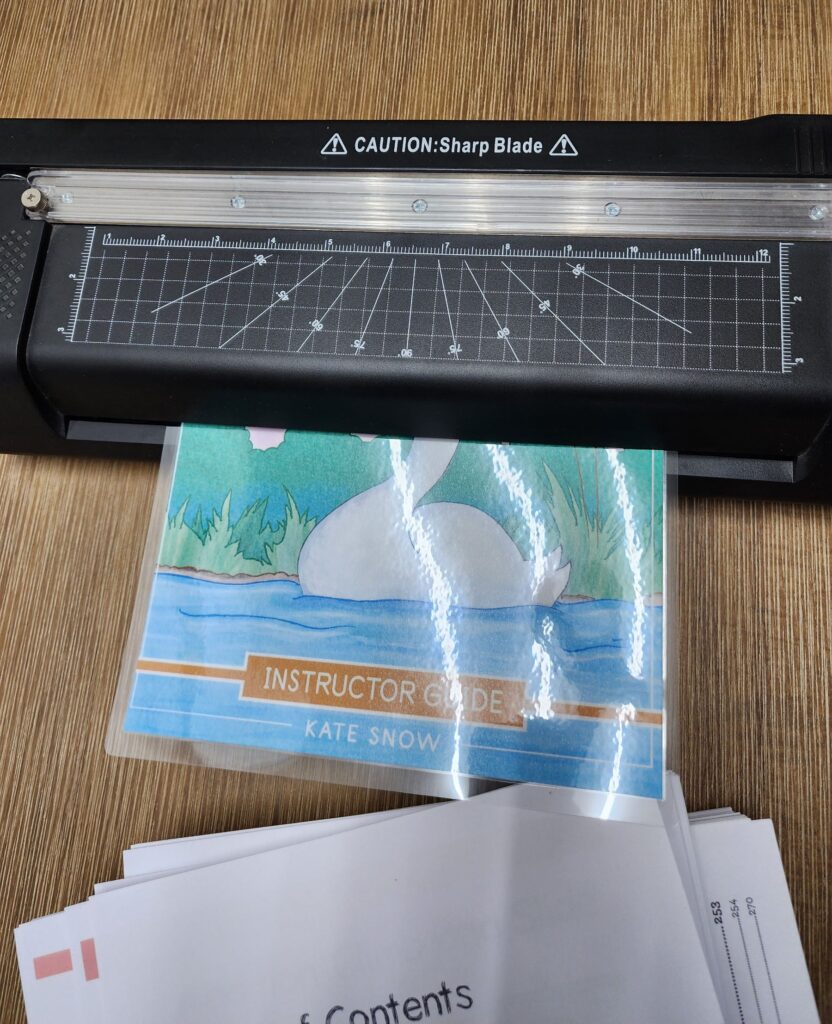
My 2-in-1 laminator and paper cutter.
Step #4: Hole punch
I use the GBC ProClick P50 Binding System to hole punch my homeschool curriculums and materials. This machine is small, lightweight, and portable. I only punch 4 sheets at a time, although up to 6 is allowed. Punching less at a time allows for a smoother experience, which is important when you are hole punching many pages. Although probably not recommended, I have to mention that I have successfully hole punched the laminated sheets, clear covers, and chipboard mentioned above.
Step #5: Binding
The same binding system brand, GBC, sells the ProClick spines which are reusable and help save money. The only downside is that the biggest size available only holds about 85 sheets of paper. For bigger books, I use plastic spiral coils in 1-1.5 inch sizes. I love having this 120 pack of various sizes to reach for every time I bind homeschool curriculum.
Now you know how to Print and Bind your own homeschool Resources and Curriculums
A good printer, decent printing paper, paper cutter, and a few binding supplies is all you need to make your printing and binding easier!
Share below whether you have any other tips or have found any information in this post helpful!
